Tables are an optional scenario mechanism for storing lists of related information that the Scenario Simulator uses for generation and matching logic.
|
|
For more about how to use tables in a scenario (with the SELECT attribute on message fields), see the Scenario Simulator User Guide.
|
1 |
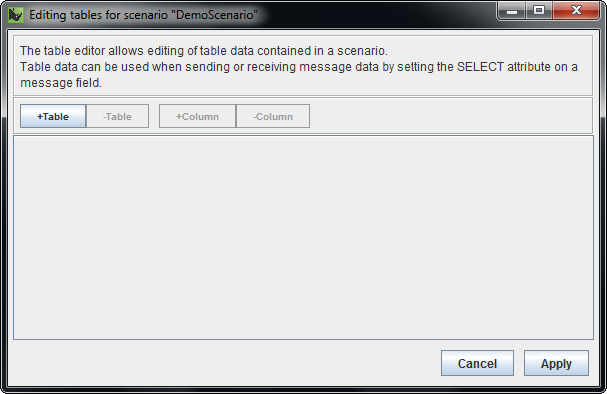
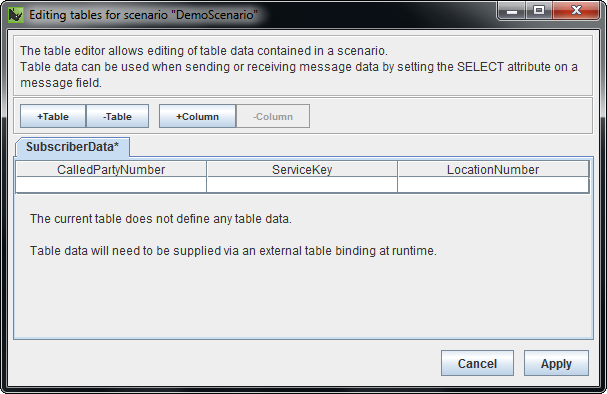
To open the Table Editor, select Table Editor from the Tools menu. The Table Editor displays.
|
||||
|---|---|---|---|---|---|
2 |
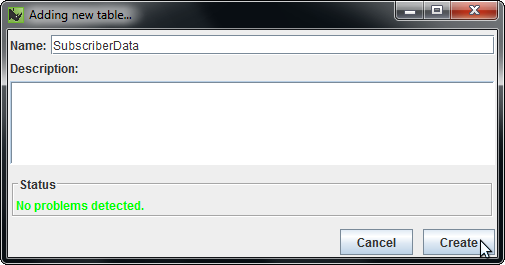
To create a new table, click Table. The Adding new table… dialog box displays.
|
||||
3 |
Enter a Name and (optionally) a Description for the table, and click Create. The new table displays in the Table Editor.
|
||||
4 |
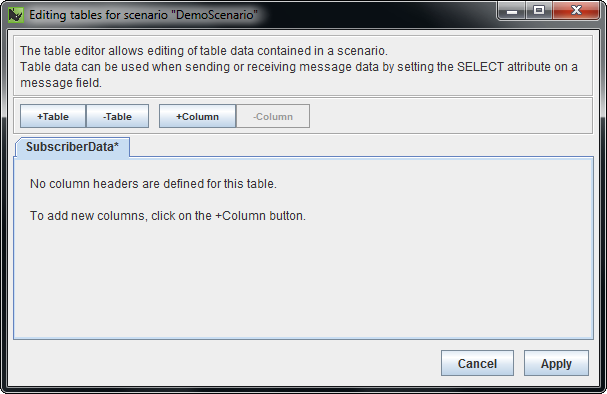
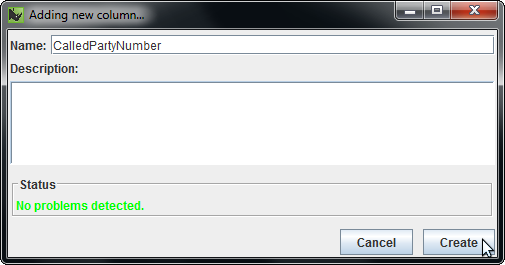
To create a new column for the table, click Column. The Adding new column… dialog box displays.
|
||||
5 |
Enter a Name and (optionally) a Description for the column, and click Create. The new column displays in the Table Editor.
|
||||
6 |
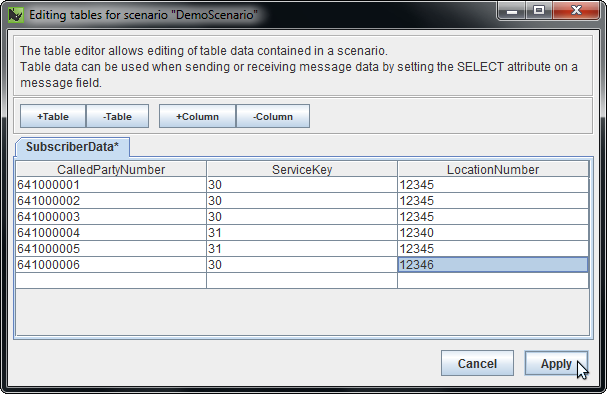
Enter table data, and click Apply. The Table Editor automatically adds new rows when you enter data in a table cell, and removes empty rows at the end of the table.
|