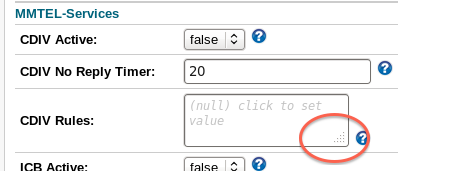
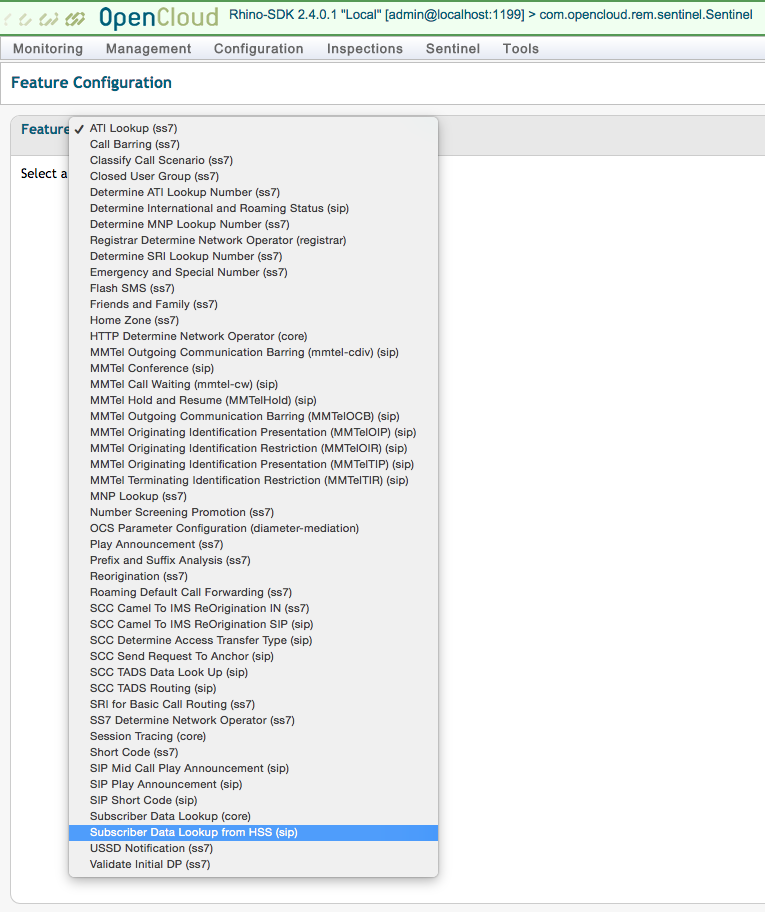
The REM HSS Transparent Data Editor lets you use a web browser to view and edit HSS transparent user data.
How it works
The web interface communicates with a web application hosted by Rhino Element Manager, which communicates with the HSS through Diameter Sh. Administrators can use it to:
-
view provisioned data
-
configure important settings
-
add new data to the HSS
-
remove data from the HSS.
Prerequisites
Before using the editor, you need to configure:
-
an appropriate HSS configuration for the network operator
-
required settings for MMTel services. *
For more information on Operator Determined Barring see Operator Determined Barring.
Using the Data Editor
To use the Data Editor:
1 |
From REM’s monitoring screen, select Sentinel ▶ HSS Subscriber Data. 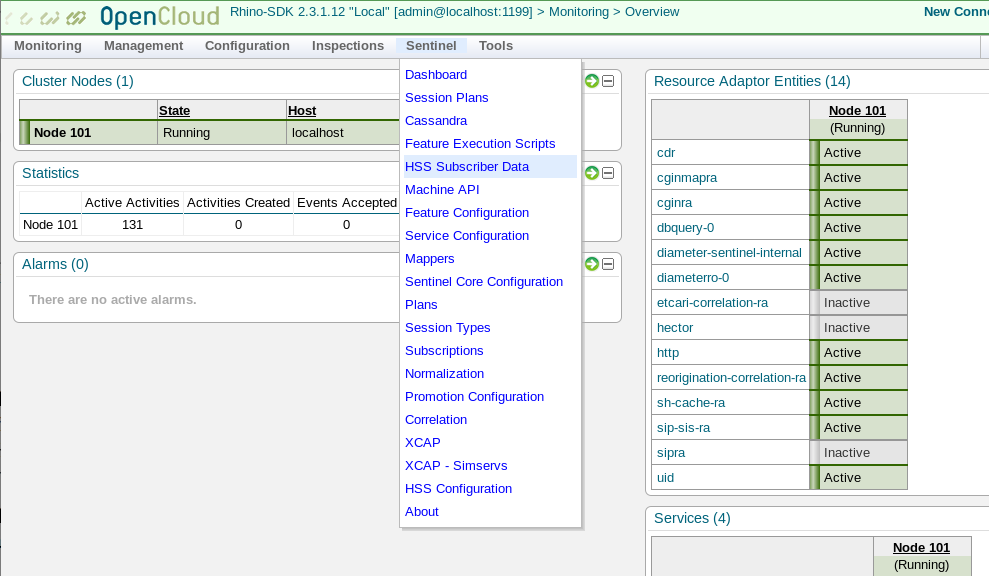
It may take a few seconds before the screen appears on first load. It should look like this: 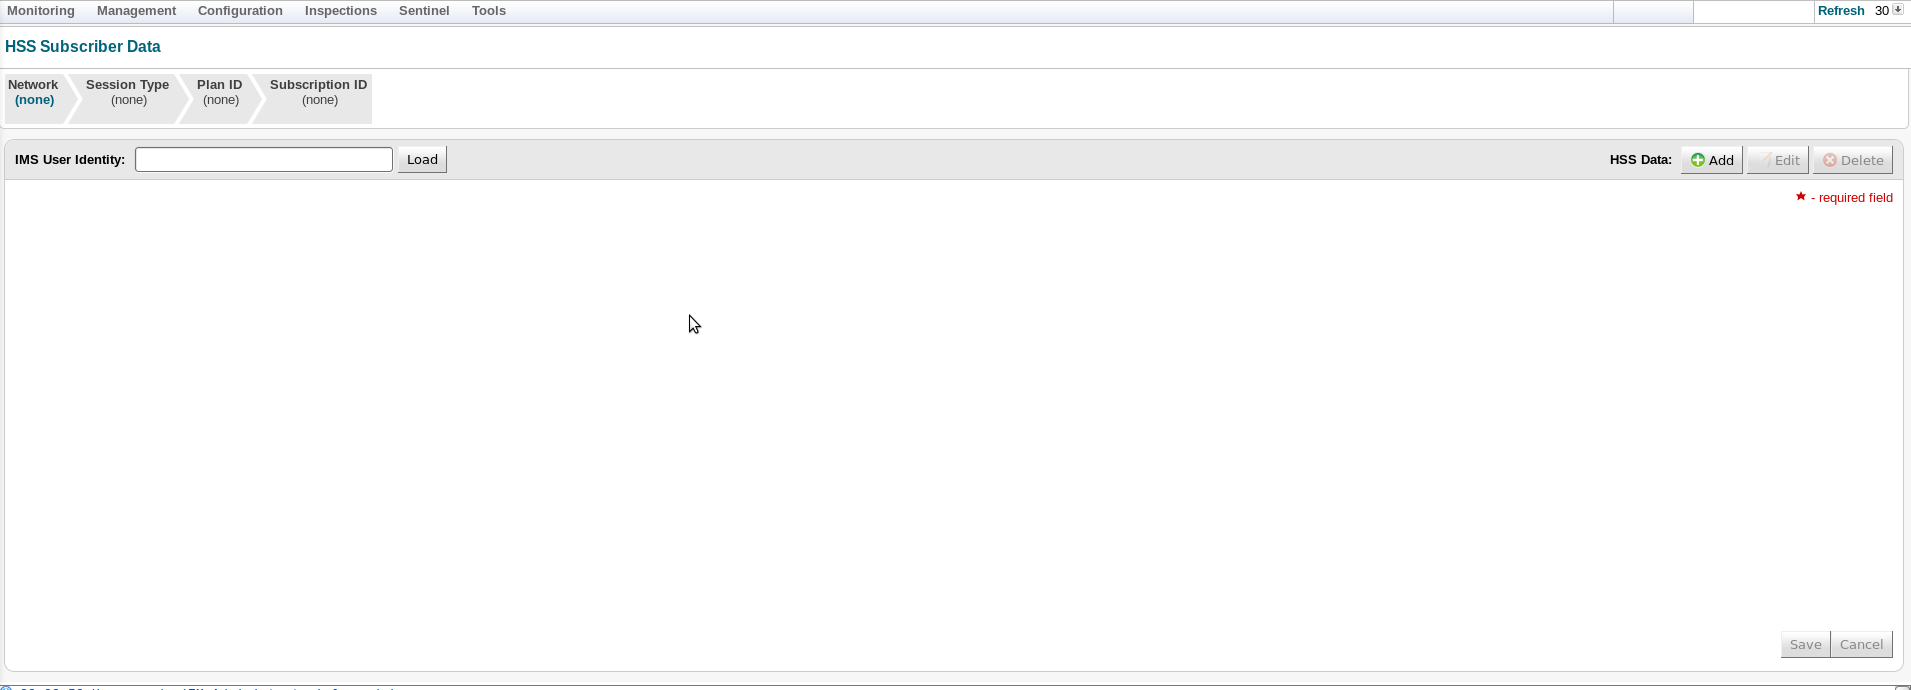
|
|---|---|
2 |
Follow the procedures to load or view, edit, or remove transparent data for an IMS public identity. |
Load or view transparent data for an IMS public identity
|
|
The HSS that the Editor queries depends on which network you’ve chosen. These instructions assume that, before loading data, you have configured the HSS address for the network operator. |
To load or view data:
1 |
Type the IMS public identity into the IMS User Identity field, and click the Load button. 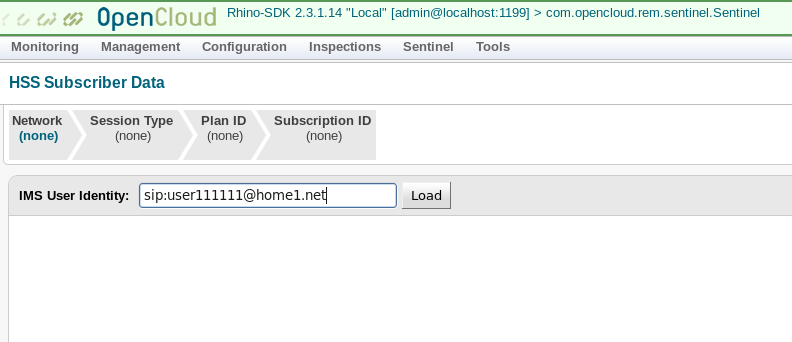
HSS Subscriber Data displays. 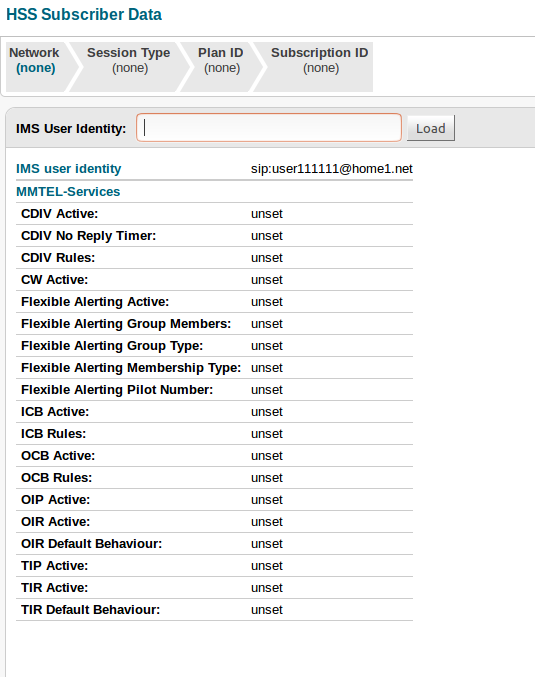
|
|---|
|
|
Loading errors
If there’s an error — for example, because the HSS is unavailable, the network operator is not configured properly, or the data cannot be parsed — a red-coloured error message will display in the panel, and red text in the log below. In the following example, a new Sentinel network operator called ‘SteveInc’ has not been configured properly. 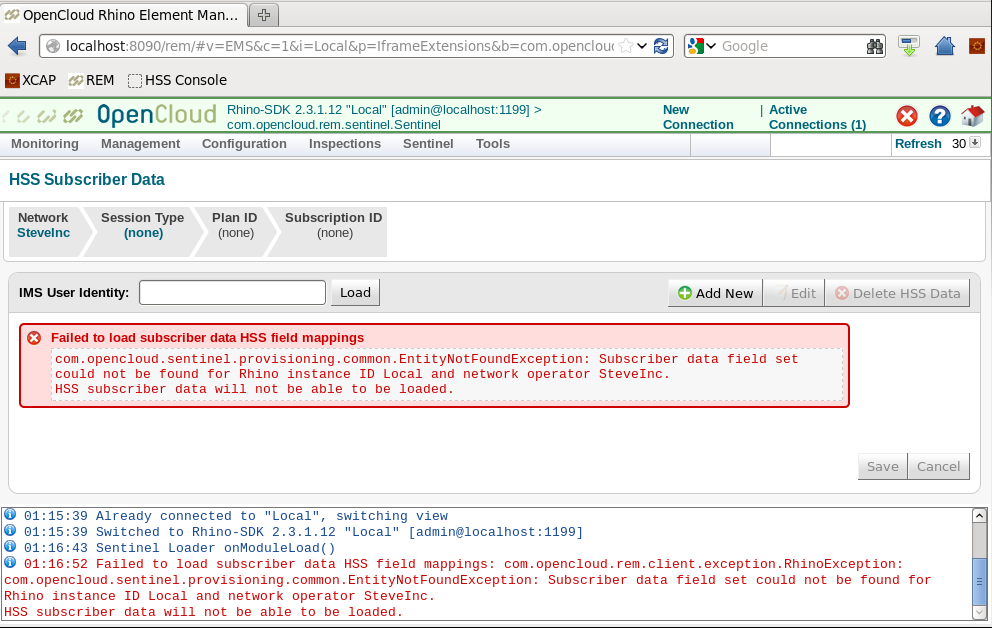
|
Edit transparent data for an IMS public identity
To edit data that you’ve loaded in the Editor:
1 |
Click the Edit button. Fields become editable. 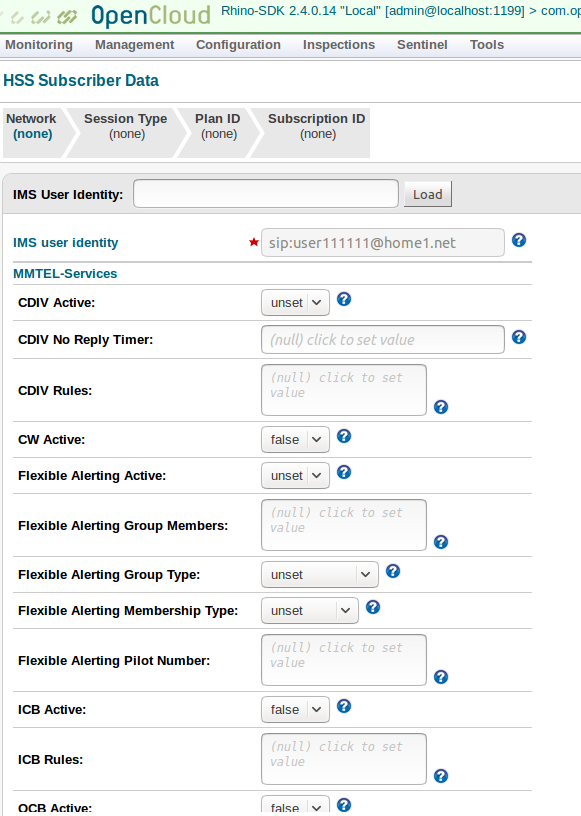
|
|||||||||||||||
|---|---|---|---|---|---|---|---|---|---|---|---|---|---|---|---|---|
2 |
Make your changes, depending on the field type.
|
|||||||||||||||
3 |
Click the Save button at the lower right. If entered data is validated and saved successfully to the HSS, a green message displays in the panel and REM log. 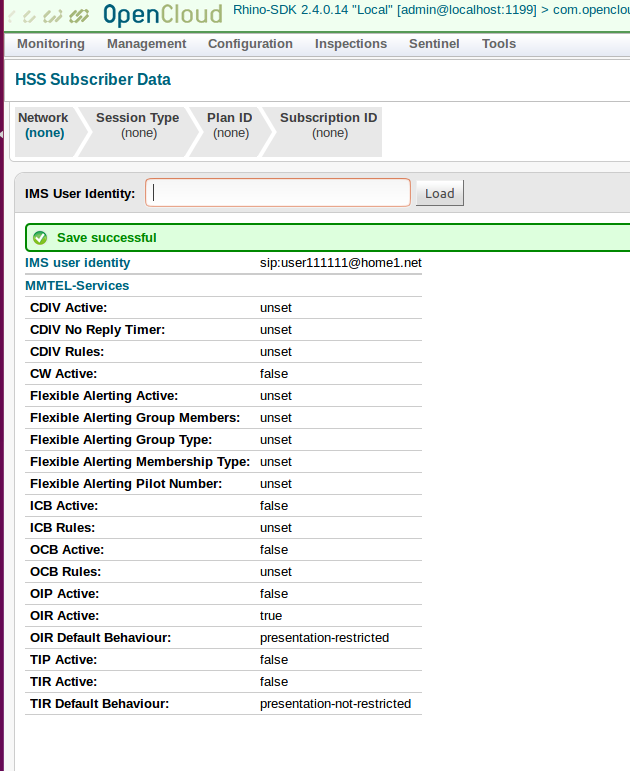
If saving fails, a red message displays in the panel and log.
In the following example, the XML is not well-formed (in the 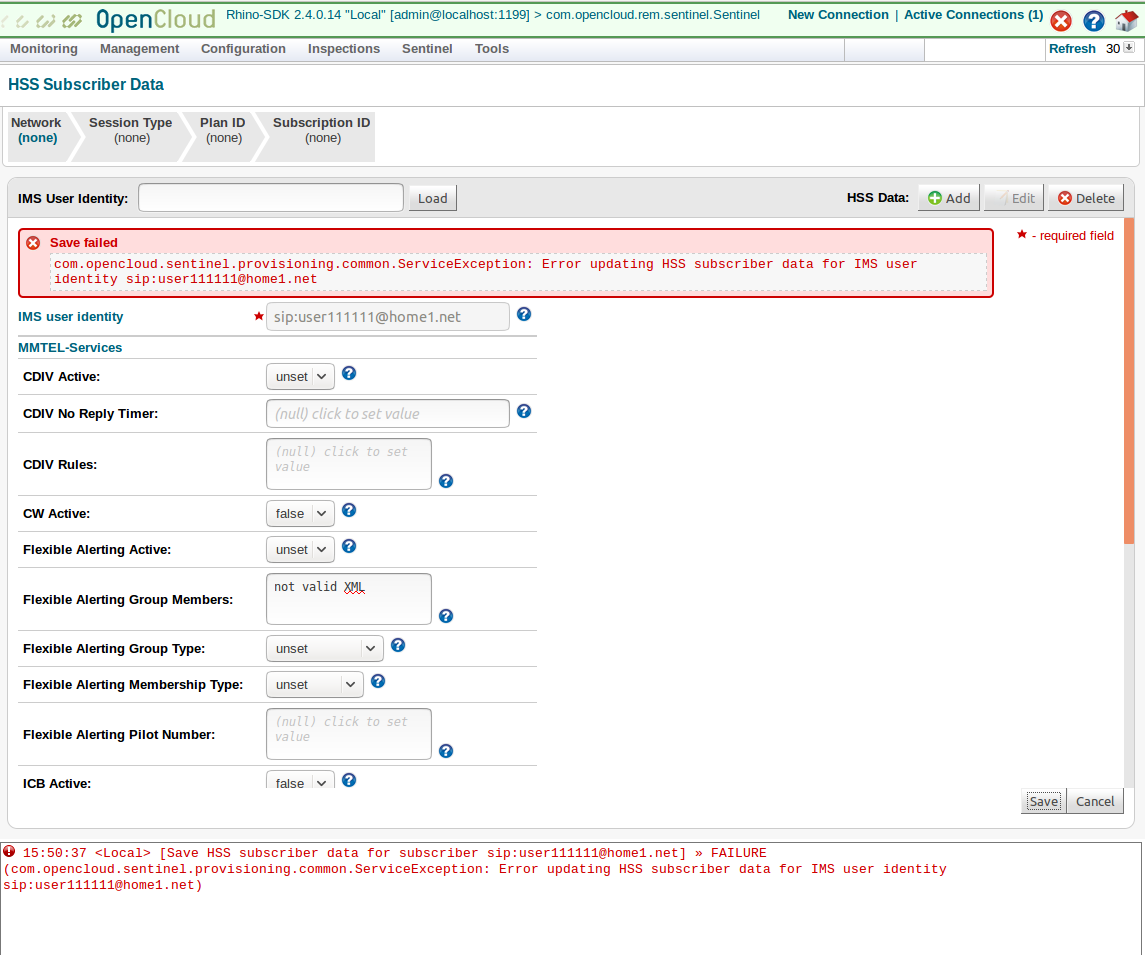
|
Remove transparent data for an IMS public identity
To remove data that you’ve loaded in the Editor:
1 |
Click the Delete button ( The editor prompts you to confirm the deletion. 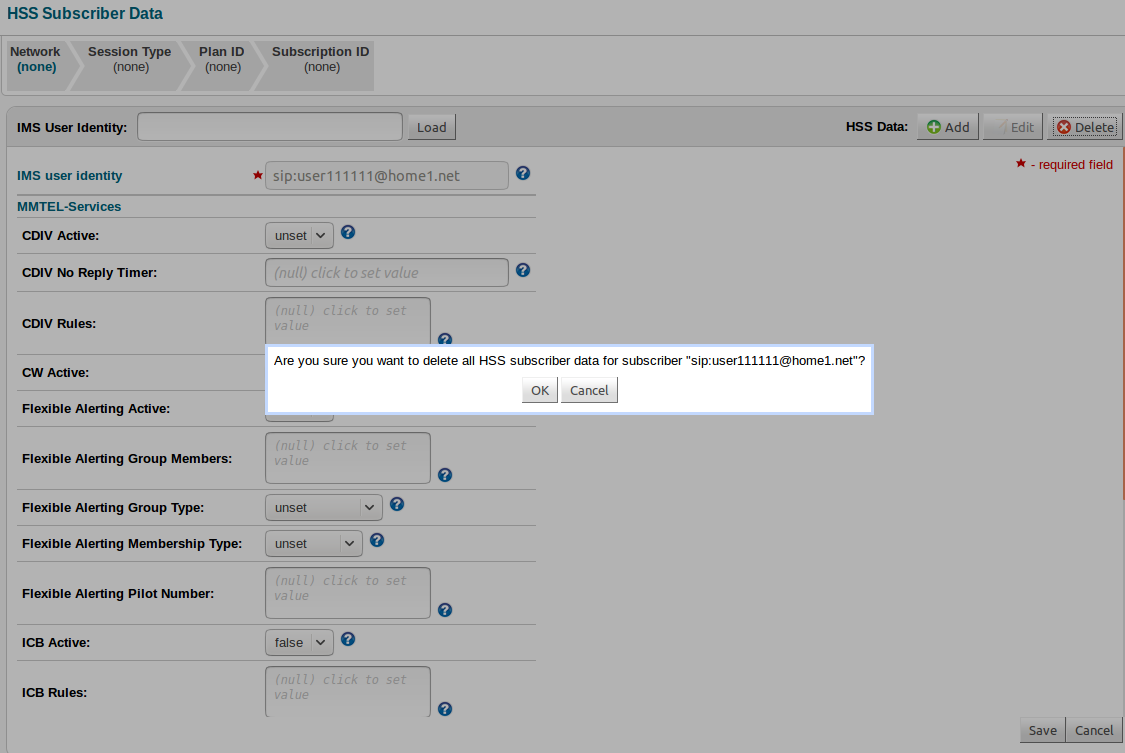
|
|---|---|
2 |
Click OK. The panel becomes blank, and a green message displays in the REM log below. |
Required configuration for MMTel
To edit HSS transparent user data so it can use OpenCloud’s out-of-the-box IR.92 features, follow the manual configuration steps below.
|
|
The volte-sentinel-mappings-config tool will carry out these steps for you.
See Populate XCAP server settings and MMTel service data.
|
1 |
|||||||||||||||||||||||||||||||||||||||||||||||||||||||||||||||||||||||||||||||||||||||||||||||||||
|---|---|---|---|---|---|---|---|---|---|---|---|---|---|---|---|---|---|---|---|---|---|---|---|---|---|---|---|---|---|---|---|---|---|---|---|---|---|---|---|---|---|---|---|---|---|---|---|---|---|---|---|---|---|---|---|---|---|---|---|---|---|---|---|---|---|---|---|---|---|---|---|---|---|---|---|---|---|---|---|---|---|---|---|---|---|---|---|---|---|---|---|---|---|---|---|---|---|---|---|
2 |
Once the data’s loaded, select the Provisioning Field Mappings tab.
|
||||||||||||||||||||||||||||||||||||||||||||||||||||||||||||||||||||||||||||||||||||||||||||||||||
3 |
Each network operator installed in Sentinel can have their own configuration. To select the defaults for the platform, select (none) under the Network section of the screen. Otherwise, to configure a particular operator, select it. Below are examples with and without fields configured for the currently selected network operator. 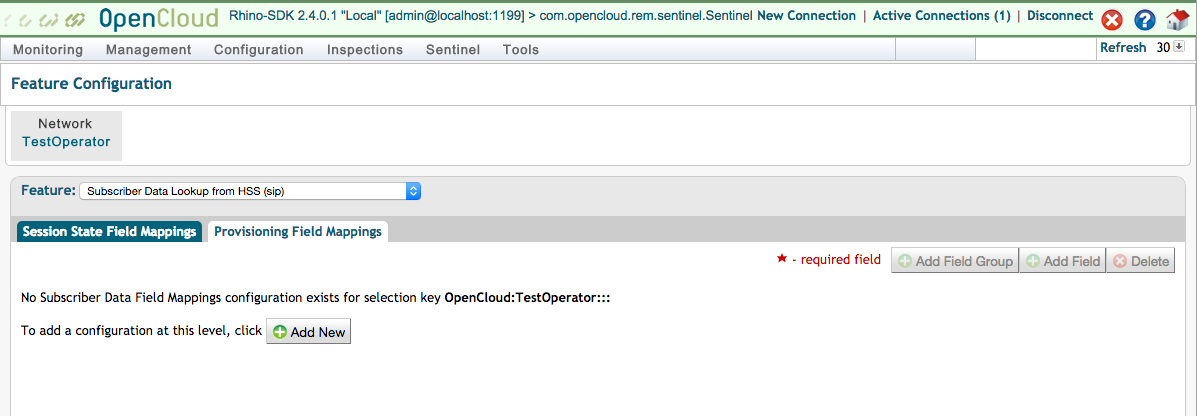
image::{here}field-mappings.png[]
|
||||||||||||||||||||||||||||||||||||||||||||||||||||||||||||||||||||||||||||||||||||||||||||||||||
4 |
Click the Add Field Group button. A prompt displays to enter details. 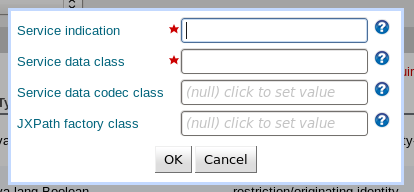
|
||||||||||||||||||||||||||||||||||||||||||||||||||||||||||||||||||||||||||||||||||||||||||||||||||
5 |
Fill in the following values — either by typing, or by selecting the text box and pressing the down arrow on your keyboard to select these default values:
And select OK. |
||||||||||||||||||||||||||||||||||||||||||||||||||||||||||||||||||||||||||||||||||||||||||||||||||
6 |
Once the field group for MMTEL-Services has been added, select it; and click the Add Field button to add the following fields:
|
||||||||||||||||||||||||||||||||||||||||||||||||||||||||||||||||||||||||||||||||||||||||||||||||||
7 |
Click Save. |
||||||||||||||||||||||||||||||||||||||||||||||||||||||||||||||||||||||||||||||||||||||||||||||||||
8 |
Once you have finished adding, editing, and/or removing fields — for the changes to take effect — disconnect from REM, and then log in again |
Active flags information
The active flags (OIRActive, CDIVActive, and ICBActive) are specified as optional Boolean attributes in the XCAP and MMTEL XML schemas.
In an XML document, this means they can have three possible values:
-
does not exist (that is, attribute is not declared)
-
exists with the value
true -
exists with the value
false.
In the transparent data editor user interface, these are reflected by these three values:
Unset, True, or False,
For short, we refer to them as the ‘active’ attributes.
The XCAP and MMTEL specifications assign special meaning to these ‘active’ attributes when their attribute does not exist (that is, when they have the value ‘unset’ in the REM user interface):
-
The session processing (that is, the feature) should act as though the value is
true. -
The XCAP requests from the user equipment are subject to special rules:
-
A request is not allowed to
-
create the ‘active’ attribute (if a request does this, the XCAP server returns an HTTP error response)
-
toggle the ‘active’ attribute for the feature via the XCAP interface (if a request does this the XCAP server returns an HTTP error response).
-
-
A request is allowed to configure other portions of that service’s data.
For example, if Communication Diversion has no ‘active’ attribute, a request can configure communication diversion rules.
-
In summary, the means that the user equipment cannot disable the feature.
If the operator wants the user equipment to be able to enable or disable the feature, then the ‘active’ attribute should exist (and therefore be either true or false).
Required configuration for Operator Determined Barring
To edit HSS transparent user data so it can use OpenCloud’s out-of-the-box IR.92 features:
1 |
|||||||||||||||||||||||||||||||||||||||||||||||||||||||||||||||||||||||
|---|---|---|---|---|---|---|---|---|---|---|---|---|---|---|---|---|---|---|---|---|---|---|---|---|---|---|---|---|---|---|---|---|---|---|---|---|---|---|---|---|---|---|---|---|---|---|---|---|---|---|---|---|---|---|---|---|---|---|---|---|---|---|---|---|---|---|---|---|---|---|---|
2 |
Once the data’s loaded, select the Provisioning Field Mappings tab.
|
||||||||||||||||||||||||||||||||||||||||||||||||||||||||||||||||||||||
3 |
Each network operator installed in Sentinel can have their own configuration. To select the defaults for the platform, select (none) under the Network section of the screen. Otherwise, to configure a particular operator, select it. Below are examples with and without fields configured for the currently selected network operator. 
image::{here}field-mappings.png[]
|
||||||||||||||||||||||||||||||||||||||||||||||||||||||||||||||||||||||
4 |
Click the Add Field Group button. A prompt displays to enter details. 
|
||||||||||||||||||||||||||||||||||||||||||||||||||||||||||||||||||||||
5 |
Fill in the following values — either by typing, or by selecting the text box and pressing the down arrow on your keyboard to select these default values:
And select OK. |
||||||||||||||||||||||||||||||||||||||||||||||||||||||||||||||||||||||
6 |
Once the field group for IMS-ODB-Information has been added, select it; and click the Add Field button to add the following fields:
|
||||||||||||||||||||||||||||||||||||||||||||||||||||||||||||||||||||||
7 |
Click Save. |
||||||||||||||||||||||||||||||||||||||||||||||||||||||||||||||||||||||
8 |
Once you have finished adding, editing, and/or removing fields — for the changes to take effect — disconnect from REM, and then log in again |
